Feeds:
Posts
Comments

Archive for the ‘DIY’ Category

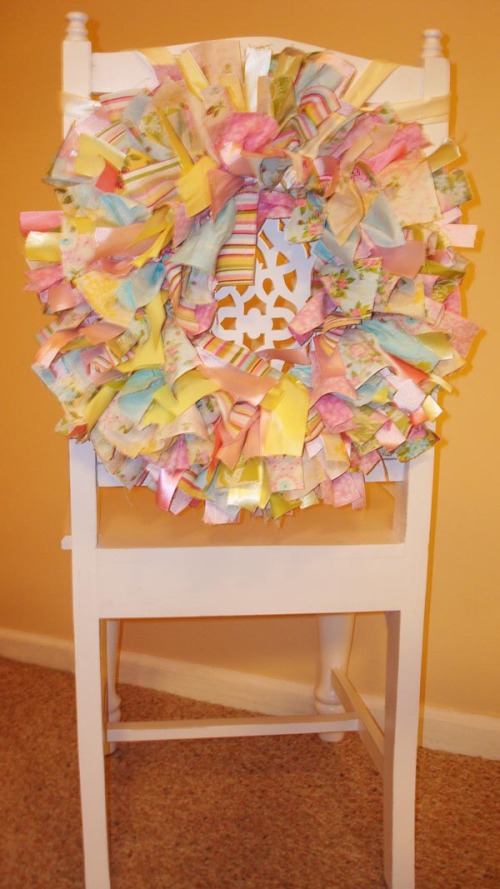
This really is the easiest wreath you will ever make.  It is low cost and looks great when complete.  You can pick your color scheme and fabric so that it would fit into any decor scheme. To create your own all that you will need is:

  • Scissors
  • A metal wreath frame which can be found in most craft stores ($2-$5)
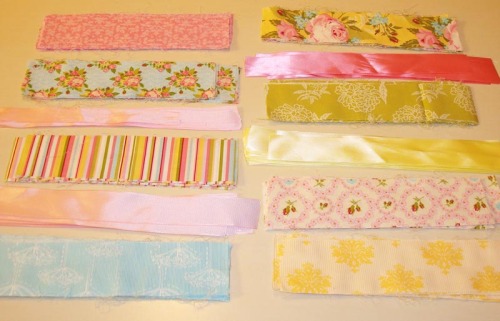
  • A good amount of scrap fabric or ribbon

Cut the fabric or ribbon into 10″ strips that are 1″-3″ wide.

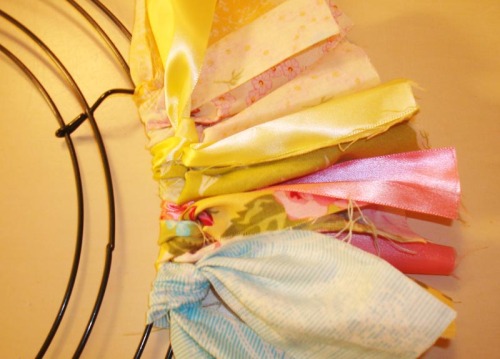
Once you have your fabric and ribbon organized begin tying the pieces to outside wires of the wreath form using simple square knots.

Once you have completed the outside wire of the wreath form you repeat the same step on the inside wires.

Cover all of the inside wires and then add additional strips of fabric to any portion of the wire that is still showing.

Voila!  Your wreath is complete!

How fabulous would these look on the back of the bride and grooms chairs at the wedding reception?

 

Read Full Post »

DIY: Fast, Easy & Fun Favors

While passing by the candy aisle the other day we were inspired (okay – and hungry) to create some fun and simple favor ideas.  After brainstorming and creating labels it literally took us minutes to put these together.  To create your own all that you will need is:

  • Cardstock
  • Cellophane bags
  • Stapler or Ribbon
  • Scissors
  • Single hole punch
  • Delicious treats of your choosing
  • A computer and access to a color printer

The best thing about these beauties was the cost.  The materials were so inexpensive and we couldn’t be more pleased with the finished product.

Read Full Post »

DIY: Ombre Layer Cake

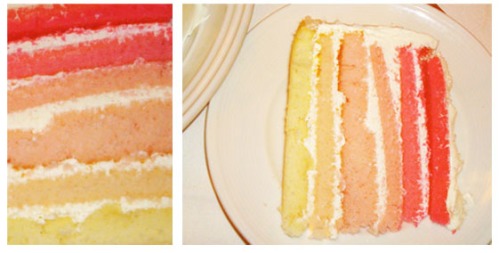
We asked ourselves-How can we take the notion of these fun rainbow layer cakes we’ve been seeing and make it a little sweeter and more wedding appropriate?  Well, we decided to make a six layer cake and dye each layer a different shade of pink so that when stacked they would create an ombre type look. We are no baker but thought we could handle this task.

First we purchased a simple white cake mix, three cans of white icing, rose Wilton food coloring and the additional ingredients to add to the cake mix.  We made our cake batter and evenly distributed the batter into six bowls.

Next we carefully dyed each layer a shade of pink. We then arranged the bowls from lightest to darkest and baked each layer individually in that order.  After the layers cooled we iced and stacked them on top of each other.  After all the layers were assembled we iced the outside of the cake.

We put our cake in a carrier and placed it in the fridge over night.  This helped the cake to set and kept it super moist.  Then came the fun part – having your cake and eating it too!

Voila! After you cut into your cake all your hard work will have paid off!  What a fun cake for a bachelorette party, shower or bridal luncheon! Bon Appetit!

Read Full Post »